WordPress Plugin
Add your Tymeslot booking page to WordPress with the official plugin — a Gutenberg block, a shortcode, or a floating button. No code; works with Tymeslot Cloud and self-hosted.
Add your booking widget to any website using one of four embedding methods. Works with WordPress, Webflow, Wix, and any site where you can paste HTML.

Software Engineer & AI Developer
Your booking page must be active to embed it. Make sure you have:
Embeds directly into your page content. Perfect for dedicated booking pages.
Opens in a fullscreen overlay. Great for CTAs and hero sections.
Simple hyperlink to your booking page. Easiest option for emails and social media.
Fixed button in corner. Always visible as users scroll through your site.
The inline embed places your booking widget directly into your page content. It needs the least setup.
<div id="tymeslot-booking" data-username="your-username"></div>
<script src="https://your-domain.com/embed.js"></script>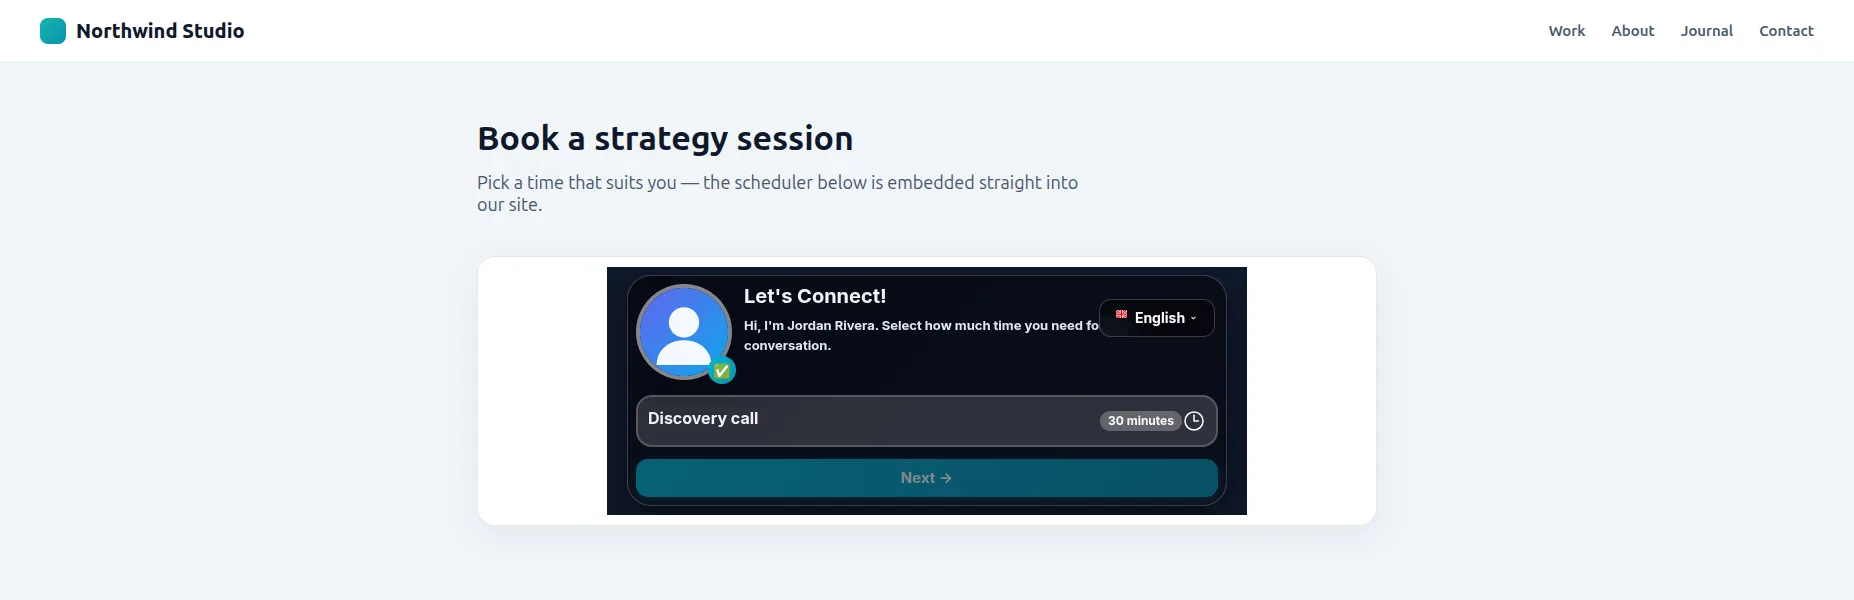
The popup modal opens your booking widget in a fullscreen overlay when triggered by a button or link.
<button onclick="TymeslotBooking.open('your-username')">
  Book a Meeting
</button>
<script src="https://your-domain.com/embed.js"></script>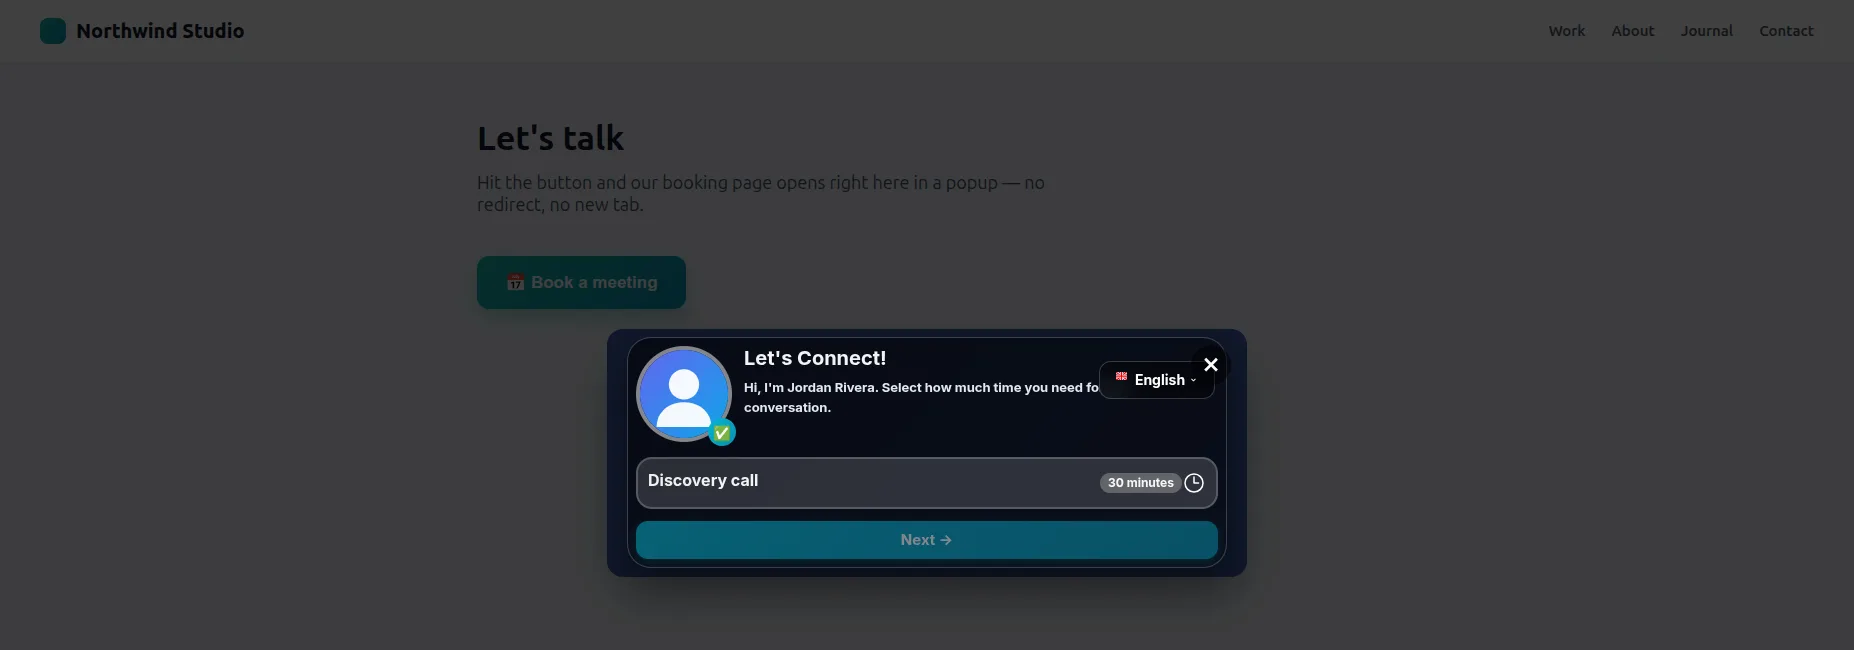
You can trigger the popup from links, images, or custom buttons:
<!-- From a link -->
<a href="#" onclick="TymeslotBooking.open('your-username'); return false;">
  Schedule a Call
</a>

<!-- From a styled button -->
<button class="my-custom-button" onclick="TymeslotBooking.open('your-username')">
  📅 Book Your Free Consultation
</button>The simplest option—just link directly to your booking page. No JavaScript required!
<a href="https://your-domain.com/your-username">
  Schedule a meeting
</a>A fixed button that stays visible in the corner of the page as users scroll—like a chat widget for booking.
<script src="https://your-domain.com/embed.js"></script>
<script>
  TymeslotBooking.initFloating('your-username');
</script>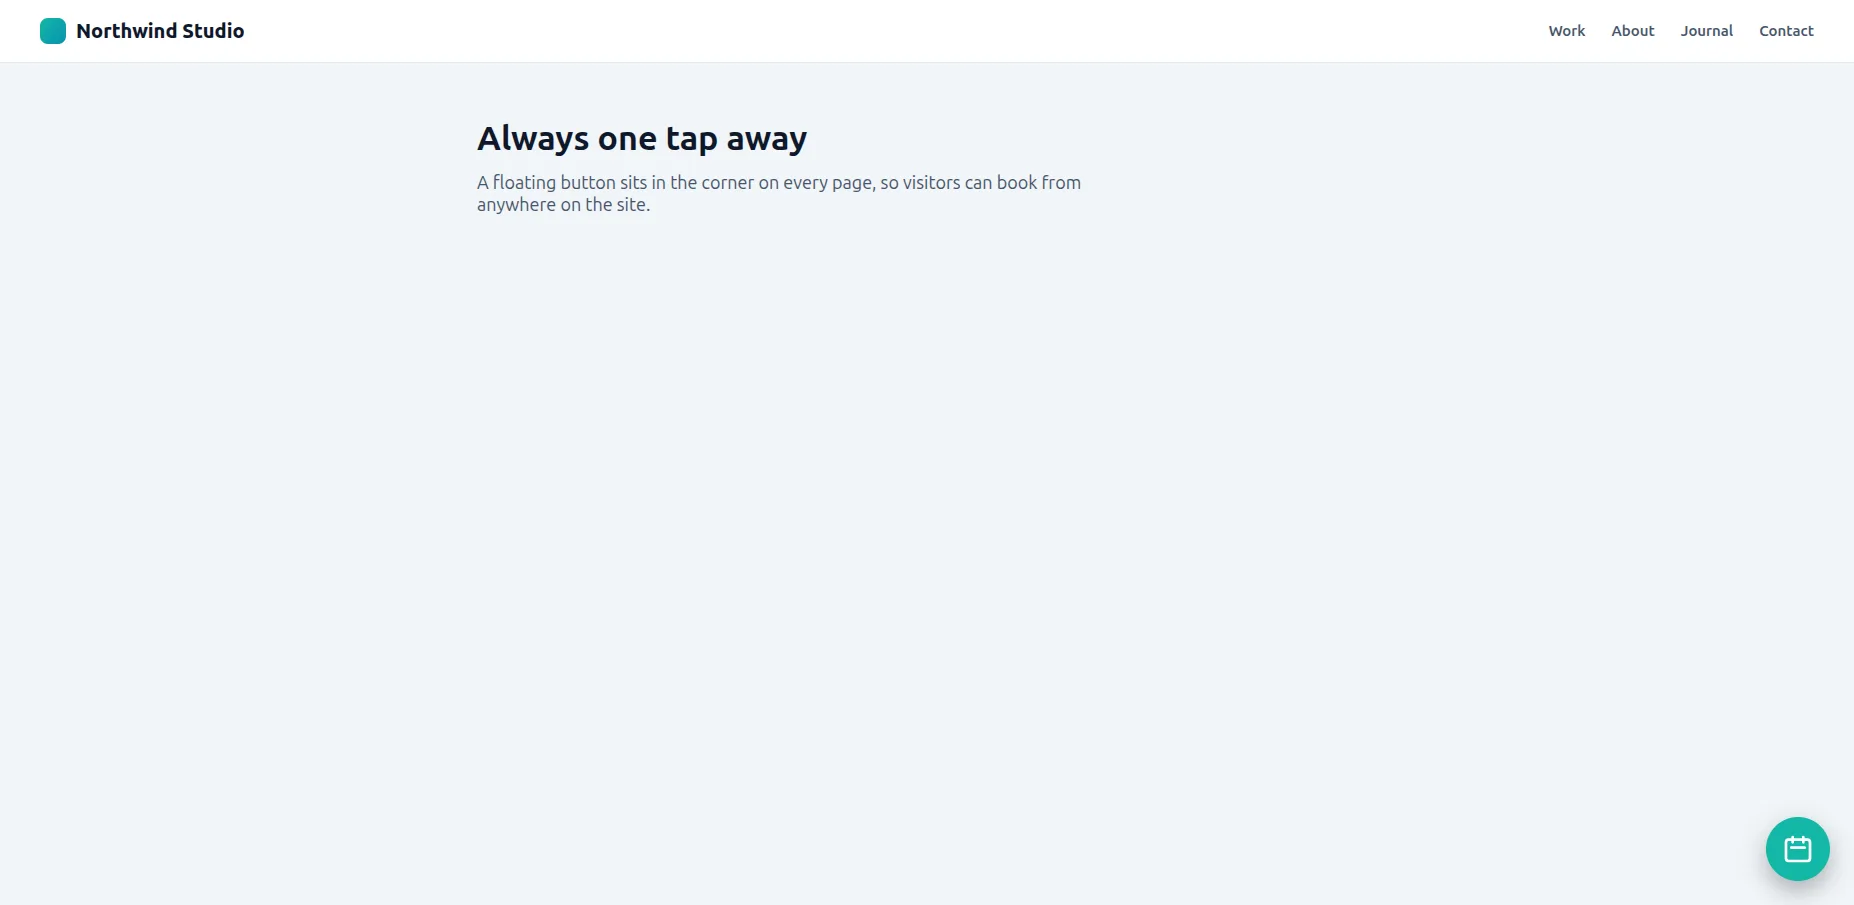
TymeslotBooking.initFloating('your-username', {\n buttonColor: '#14B8A6' // Tymeslot Turquoise\n});Step-by-step instructions for popular website builders. Each platform has its own way of adding custom code—we've got you covered.
Easiest: install the official Tymeslot WordPress plugin — add your booker with a Gutenberg block, a shortcode, or a floating button, with no HTML to paste. The steps below are the manual Custom HTML method, for when you'd rather not use a plugin.
WordPress supports custom HTML blocks in both the Classic and Block (Gutenberg) editors. This method works for all WordPress versions 5.0+.
Navigate to Pages → Add New or edit an existing page. Make sure you're using the Block Editor (Gutenberg).
Click the + button where you want to embed, then search for "Custom HTML" or "HTML".
💡 Tip: You can also type /html
directly in the editor as a shortcut.
Copy the inline embed code from your Tymeslot dashboard and paste it into the HTML block.
<div id="tymeslot-booking" data-username="your-username"></div>
<script src="https://your-domain.com/embed.js"></script>Click Preview to see how it looks, then Publish or Update your page.
⚠️ Common WordPress Issues:
Webflow's visual designer makes it easy to add custom embeds. You can place the widget anywhere in your layout with pixel-perfect precision.
Select the page where you want to add the booking widget and open it in the Designer.
Click on the container or section where you want the widget to appear. Make sure the parent element has enough height for the widget (recommended: 700px minimum).
💡 Tip: Create a dedicated div block with a class like "booking-widget-container" for better control.
From the Add Panel on the left, drag an Embed element (under Components) into your container.
A code editor will open automatically. Paste your Tymeslot embed code and click Save & Close .
Click the eye icon (Preview) to test the widget in action, then Publish your site when ready.
⚠️ Note: Embeds don't render in the Designer—you must preview or publish to see them.
🎨 Webflow-Specific Tips:
700px
for best display.
position: relative
or higher z-index than other elements.
Wix's drag-and-drop editor makes embedding straightforward with its dedicated HTML iframe element. Works in both the classic editor and Wix Studio.
Log in to your Wix account and click Edit Site to open the editor for your chosen page.
Click the Add (+) button on the left sidebar, then navigate through the menus:
Path:
Embed → Embed a Widget → HTML iframe
💡 Alternative: Search for "HTML" in the Add panel for faster access.
An HTML iframe box will appear on your page. Click Enter Code in the settings panel that opens.
Make sure "Code" is selected (not "Website Address") at the top of the settings panel.
Copy the embed code from your Tymeslot dashboard and paste it into the code editor.
<div id="tymeslot-booking" data-username="your-username"></div>
<script src="https://your-domain.com/embed.js"></script>Drag the corners of the HTML element to resize it. Recommended minimum size: 800px wide × 700px tall .
💡 Tip: Use the alignment guides to center the widget on your page.
Click Update in the settings panel, then Publish your site to make it live.
🔧 Wix Troubleshooting:
Squarespace's Code Block makes it simple to embed custom HTML. This works on all Squarespace plans, including version 7.0 and 7.1 templates.
Navigate to the page where you want to add the widget, then click Edit in the top left.
Hover over the area where you want to add the widget. Click the + (insert point) that appears between content blocks.
💡 Tip: You can place the widget in any column layout or section.
From the block menu, search for or select Code . You'll find it under the "More" category.
Path:
Insert Point → More → Code
A code editor will appear. Make sure:
Copy your Tymeslot embed code from the dashboard and paste it into the code editor.
<div id="tymeslot-booking" data-username="your-username"></div>
<script src="https://your-domain.com/embed.js"></script>Click Apply to close the code editor, then click Save in the top left to publish your changes.
⚠️ Changes won't appear until you click Save.
🎯 Squarespace-Specific Tips:
Useful for booking product consultations, personal shopping sessions, or customer support calls directly from your Shopify store.
In your Shopify admin, go to Online Store → Pages . Create a new page or edit an existing one (e.g., "Book a Consultation").
Shopify's page editor strips <script>
tags, so the embed script must be added separately. Go to
Online Store → Themes → Actions → Edit Code
and add this line to theme.liquid
just before </body>:
<script src="https://your-domain.com/embed.js"></script>
Back in your page, click Show HTML
(the <>
icon) and paste the container div:
<div id="tymeslot-booking" data-username="your-username"></div>Click Save in the top right. The widget will now be live on your Shopify store page.
💼 E-commerce Use Cases:
🎯 Shopify-Specific Tips:
theme.liquid,
you can place the booking container on any page — the script is already loaded site-wide.
For developers working with plain HTML, React, Vue, Next.js, or any other framework. Full control over placement and styling.
Simply paste the embed code anywhere in your HTML body:
<body>
  <!-- Your content -->

  <div id="tymeslot-booking" data-username="your-username"></div>
  <script src="https://your-domain.com/embed.js"></script>
</body>Load the script in your layout or component:
// In React/Next.js\nuseEffect(() => {\n const script = document.createElement('script');\n script.src = 'https://your-domain.com/embed.js';\n script.async = true;\n document.body.appendChild(script);\n \n return () => {\n document.body.removeChild(script);\n };\n}, []);Use the JavaScript API for dynamic behavior:
// Open modal programmatically\ndocument.getElementById('my-button').addEventListener('click', () => {\n TymeslotBooking.open('your-username', {\n theme: '2',\n primaryColor: '#4F46E5'\n });\n});\n\n// Embed dynamically\nTymeslotBooking.embed('#container', 'your-username');🔧 Developer Tips:
script-src 'self' your-domain.com
.
| Platform | Best For | Difficulty | Recommended Method |
|---|---|---|---|
| WordPress | Blogs, business sites, portfolios | Easy | Inline Embed |
| Webflow | Designer portfolios, agencies | Easy | Inline Embed |
| Wix | Small businesses, personal sites | Moderate | Inline Embed |
| Squarespace | Creative professionals, boutiques | Easy | Inline Embed |
| Shopify | E-commerce, consultations | Easy | Inline or Popup |
| Custom HTML | Developers, full control | Easy | Any method |
You can pass options to control which theme, language, and size the embedded widget uses.
| Option | Data attribute | Description |
|---|---|---|
theme |
data-theme |
'1' (Quill) or '2' (Rhythm) |
primaryColor |
data-primary-color |
Hex color override (e.g., '#14B8A6') |
locale |
data-locale |
'en', 'de', 'uk', or 'fr' |
layout |
data-layout |
'default'
(centred, max ~640px) or 'column'
(wide canvas — best for narrow content areas like WordPress sidebars)
|
initialHeight |
data-initial-height |
Placeholder height in px shown before the iframe reports its content height (default: 400, range: 200–2000).
data-min-height
is accepted as a legacy alias.
|
maxWidth |
data-max-width |
Maximum width in px (default: 640, max: 2000) |
buttonColor |
— | Floating button color (hex). Only for initFloating(). |
All inputs are validated. Invalid values (e.g., a non-hex color) are silently ignored.
TymeslotBooking.open('your-username', {\n theme: '2', // Theme ID (1=Quill, 2=Rhythm)\n primaryColor: '#14B8A6', // Hex color\n locale: 'en', // Force language\n layout: 'column', // 'default' or 'column'\n maxWidth: '800' // Max width in pixels\n});
For standard inline embeds, you can use data-
attributes to customize the widget directly in your HTML:
<div id="tymeslot-booking"
     data-username="your-username"
     data-theme="2"
     data-primary-color="#4F46E5"
     data-locale="en"
     data-layout="column"
     data-initial-height="600"
     data-max-width="800">
</div>Embed the widget into any element dynamically using our JavaScript API:
// Embed into a specific container\nTymeslotBooking.embed('#my-container', 'your-username', {\n theme: '1',\n primaryColor: '#14B8A6',\n locale: 'en',\n layout: 'column',\n initialHeight: '600',\n maxWidth: '800'\n});
The embed script must load before you call any functions. Make sure the
<script>
tag is present on the page and has finished loading.
The widget is responsive, but your website must be too. Ensure your page has a proper viewport meta tag in the <head>:
<meta name="viewport" content="width=device-width, initial-scale=1">Protect your booking page from unauthorized embedding
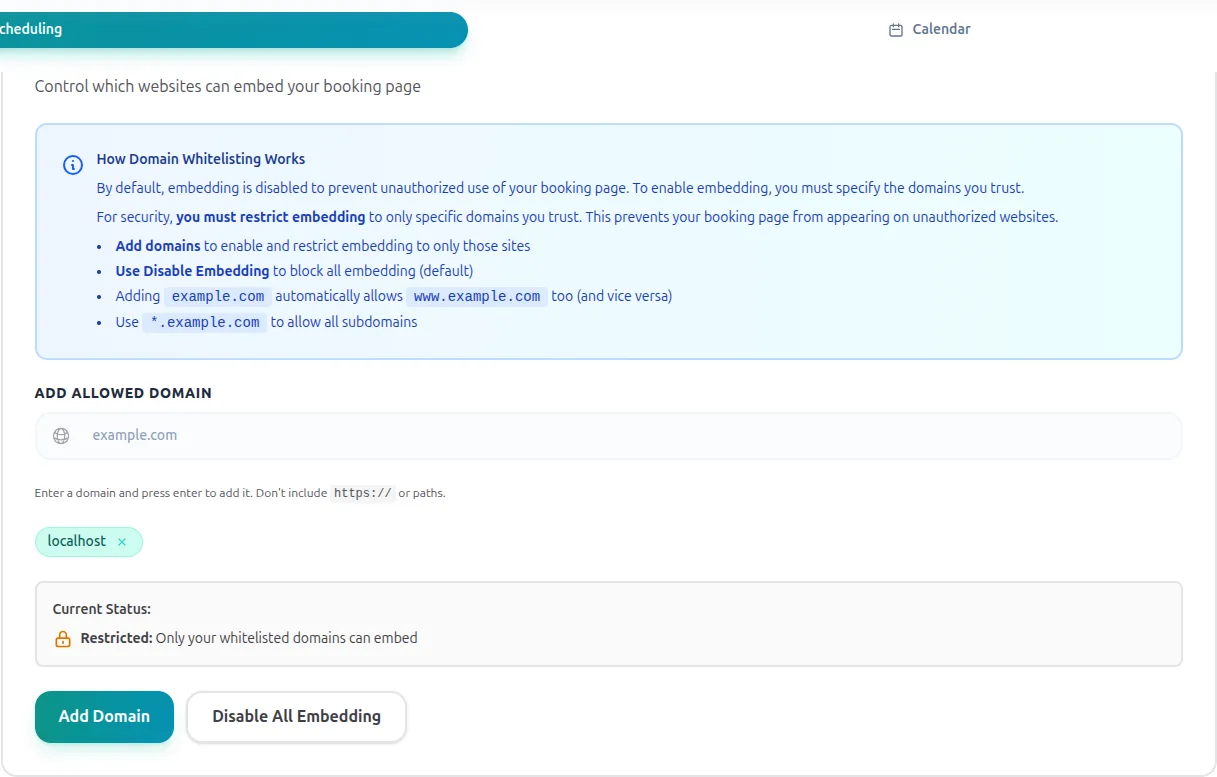
By default, embedding is disabled to protect your booking page from unauthorized use. To enable embedding, you must specify the domains you trust.
For enhanced security and brand control, you must restrict embedding to only specific domains you trust. This prevents your booking page from appearing on unauthorized websites.
Navigate to Security Settings
Go to your dashboard and open the Embed & Share section.
Open the Security Section
Click the Configure button in the "Security & Domain Control" panel.
Add Trusted Domains
Enter comma-separated domains you want to allow (e.g., example.com, myportfolio.net).
https:// or specific page paths
Save Your Settings
Click Save Security Settings to apply the restrictions immediately.
Unauthorized Embedding
Prevents your booking page from appearing on websites you don't approve
Brand Control
Stops competitors from making it look like you're affiliated with their services
Clickjacking Risks
Reduces the risk of UI redressing attacks and malicious overlays
Pro Tip: Embedding is blocked by default. You must add at least one domain to enable it for your website.
Head to your dashboard to get your personalized embed codes with live previews. You can test each embedding method before adding it to your site.
Go to Your DashboardEmbedding a booking widget is popular with creative professionals. See how Coaches , Photographers , and Web Designers use it to convert visitors into booked clients.
Add your Tymeslot booking page to WordPress with the official plugin — a Gutenberg block, a shortcode, or a floating button. No code; works with Tymeslot Cloud and self-hosted.