Google Meet Integration
Auto-create Google Meet rooms for every confirmed booking via the Calendar API. Attendees receive the link by email and can join without a Google account.
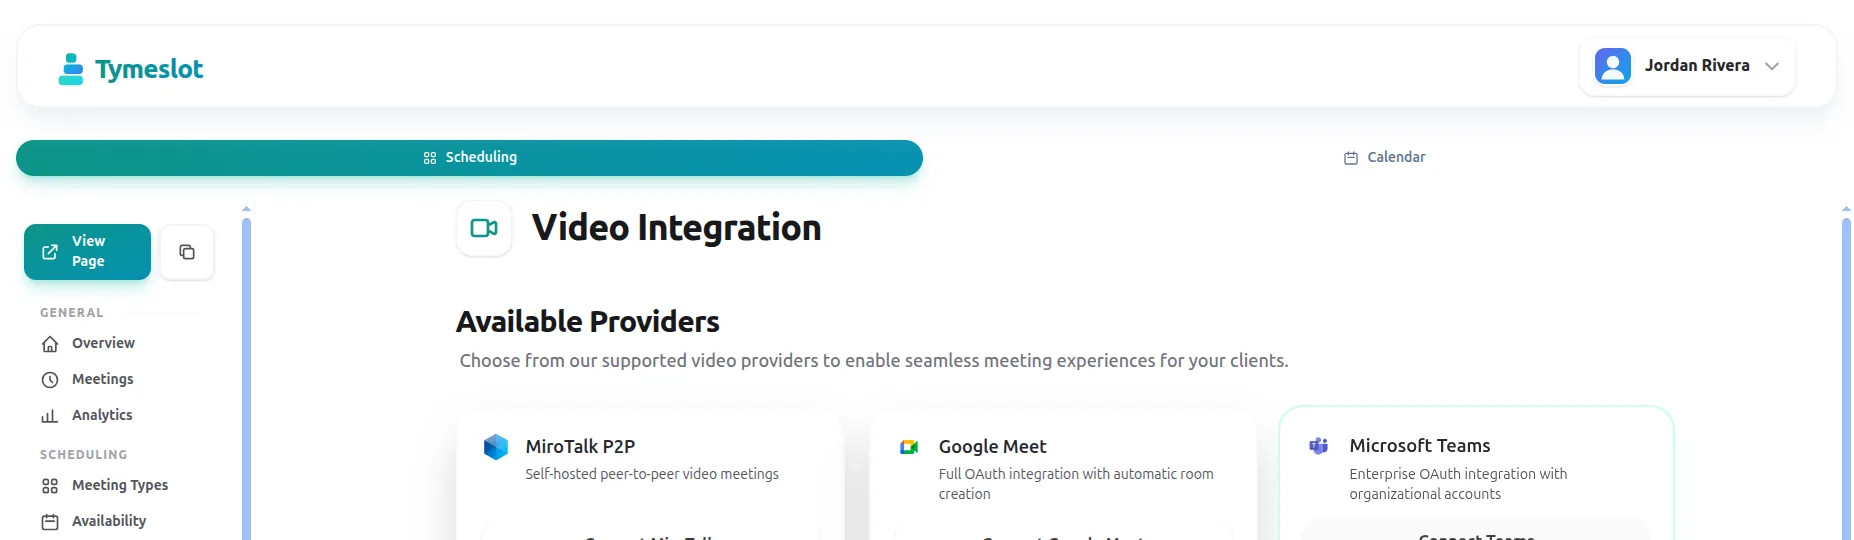
Run fully self-hosted video meetings with MiroTalk P2P. No accounts, no subscriptions, no third-party video infrastructure.

Software Engineer & AI Developer
By the end of this guide, you will have a self-hosted MiroTalk P2P video server running, and Tymeslot will generate a unique MiroTalk room link for every new booking — with no third-party video infrastructure involved.
Run the following command on your server. Replace
your-strong-random-key
with a strong secret — you will enter this key into Tymeslot later:
docker run -d \\\n --name mirotalk \\\n -p 3000:3000 \\\n -e API_KEY_SECRET=your-strong-random-key \\\n --restart unless-stopped \\\n mirotalk/p2p:latestTo generate a secure API key:
openssl rand -hex 32
Expected result: after the container starts, open
http://your-server:3000
in a browser — you should see the MiroTalk P2P landing page.
API_KEY_SECRET
to a strong random value before exposing MiroTalk to the internet.
Browsers require HTTPS to access the camera and microphone — WebRTC will not work over plain HTTP. Set up a reverse proxy in front of MiroTalk's port 3000. Caddy handles TLS certificates automatically:
meet.yourdomain.com {\n reverse_proxy localhost:3000\n}
After reloading Caddy, open
https://meet.yourdomain.com
— the MiroTalk landing page should load over a secure connection.
Verify MiroTalk works independently before connecting it to Tymeslot:
https://meet.yourdomain.com
If the room loads and the camera permission prompt appears, MiroTalk is working correctly. Move on to Step 4.
Now register your MiroTalk instance with Tymeslot:
https://meet.yourdomain.com
API_KEY_SECRET
Expected result: the MiroTalk row shows a connected status. Tymeslot will now generate room links using your instance for every booking.
MiroTalk is enabled per meeting type. Repeat for each meeting type where you want self-hosted video:
Expected result: each new booking for this meeting type will include a unique MiroTalk room URL. No manual room management is required — Tymeslot generates a fresh room link per booking.
Because MiroTalk P2P is peer-to-peer, your server only handles WebRTC signaling — it does not relay video or audio streams. Signaling traffic is minimal. A basic VPS with 1 GB RAM comfortably handles hundreds of concurrent meetings. Video bandwidth goes directly between participants' browsers, not through your server. Resource requirements only increase significantly if you later add a TURN server for corporate network traversal.
Peer-to-peer WebRTC works for most home and mobile connections. However, participants on strict corporate or institutional networks may have their P2P connections blocked by firewalls or NAT. A TURN server relays media traffic for those users.
Coturn is the standard open-source TURN server:
apt install coturn\n# Edit /etc/turnserver.conf — set your domain and credentials\n# Then restart: systemctl restart coturnAfter installing Coturn, add the TURN server credentials to MiroTalk's environment config and restart the container.
MiroTalk P2P uses WebRTC, which establishes a direct connection between participants' browsers. This works for most home and mobile networks, but fails when participants are behind strict NAT or corporate firewalls that block direct peer-to-peer UDP traffic. The signaling step (joining the room) succeeds, but no audio or video appears.
The solution is to deploy a TURN server (such as Coturn) alongside MiroTalk. A TURN server relays media traffic for participants who cannot establish a direct connection. See the TURN Server Setup section above for setup instructions.
No. MiroTalk can run on any server — a separate VPS, a different cloud provider, or even a machine on a different network. The only requirement is that your Tymeslot instance can reach MiroTalk's HTTP API to generate room URLs at booking time. The URL you enter in Dashboard → Integrations → Video → MiroTalk must be reachable from the Tymeslot server, not from participants' browsers.
Room URLs are generated dynamically at booking time. Tymeslot calls the MiroTalk API with a unique
room ID for each confirmed booking. If rooms appear not found, first confirm that
MIROTALK_URL
in your
Tymeslot configuration points to the correct MiroTalk instance (including the correct scheme and port).
Also verify that the API key stored in Tymeslot matches the
API_KEY_SECRET
value
your MiroTalk container was started with. A mismatch causes room creation to fail silently, resulting
in a broken or missing room link.
No. Tymeslot integrates with MiroTalk P2P only. MiroTalk SFU is a separate product with a different API surface and a different room URL structure. Pointing Tymeslot at a MiroTalk SFU instance will not work — room generation calls will either fail or produce invalid URLs.
If you need to support large groups, consider running MiroTalk P2P with a TURN server for reliability, or evaluate a different conferencing solution that Tymeslot supports.
MiroTalk P2P works well for 2–4 participants. Because the architecture is peer-to-peer, each participant must send their video and audio stream directly to every other participant. With 4 participants, each person is uploading 3 streams simultaneously — bandwidth and CPU usage grows with the number of peers.
For group calls with more than 4 participants, the quality and reliability of a pure P2P setup degrades. MiroTalk SFU (a separate product) or a dedicated conferencing platform is better suited for larger groups, as a central media relay handles stream distribution.
Auto-create Google Meet rooms for every confirmed booking via the Calendar API. Attendees receive the link by email and can join without a Google account.
Auto-create Microsoft Teams meetings for every confirmed booking. Requires Microsoft 365 Business or Enterprise with admin-consented API permissions.
Auto-create Zoom meetings for every confirmed booking. Works with Zoom Pro, Business, and Enterprise accounts via OAuth — free Zoom accounts cannot create meetings programmatically.